Avs
From SDA Knowledge Base
quick link to old guide
quick link to wiki editing
Anchors
Snow's new AviSynth guide. Yeah, I hope I actually finish this.
Ideas for layout
- Custom table of contents, not so linear.
- Use PNG! Lossless is cool.
- Color headings.
Ideas for guide
- No more follow-these-steps-blindly instructions this time.
- Include more pictures. Use thumbnails when necessary.
- At the start of each section, show a typical script in progress.
- Include exercises with downloadable packages containing a video and a partial script.
Stuff to do:
Getting setup
- Introduction
-
Setting up a work environment -
Installation
Walkthrough
- Line by line through script with pictures.
The script
- Loading the source files
- Appending
- Deinterlacing
- Trimming
- Resizing
- Sharpening
- Cropping / Adding borders
- Color / Brightness
- SDA StatID
- QuickTime compatibility
Extras
- Sample scripts
- Script verification
Fixes
- Fixing Constant audio desync
- Fixing Progressive audio desync
Table of contents:
IMPORTANT NOTE: AviSynth scripting is an advanced topic. All beginners are recommended to use Anri-chan instead.
Blah blah blah.
File extensions
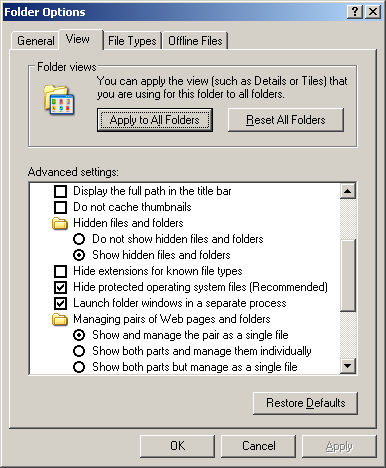
You'll very likely need to rename file extensions but they may be hidden by the operating system.
- open Windows Explorer
- open the Tools menu
- select Folder Options
- select the View tab
- choose to Show hidden files and folders
- uncheck Hide extensions for known file types
- click OK to apply changes.
Association of avs file extension with text editor
Now that you can see file extensions, let's associate the avs file extension with Notepad or other text editor of your choice.
- open Windows Explorer
- open the File menu
- select New
- select Text Document
- rename the new text file to New Text Document.avs. It should show up as an unknown type.
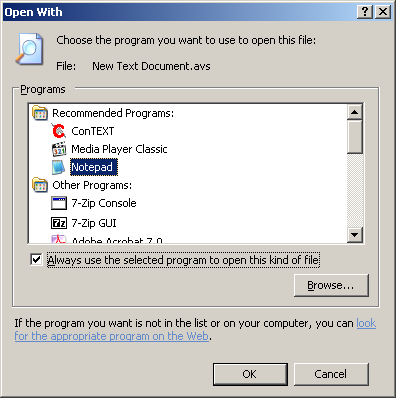
- open the avs file or right-click and select Open With. Windows will ask which program you want to use.
- select Notepad in the list
- place a checkmark in the box that says Always use the selected program to open this kind of file
- click OK
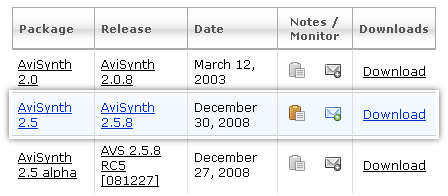
Download and install a stable release version of AviSynth
The picture below identifes a stable release.
Download and install necessary AviSynth plugins
- Go to Start menu
- [All] Programs
- AviSynth
- Plugin Directory. (This is where AviSynth stores its plugins.)
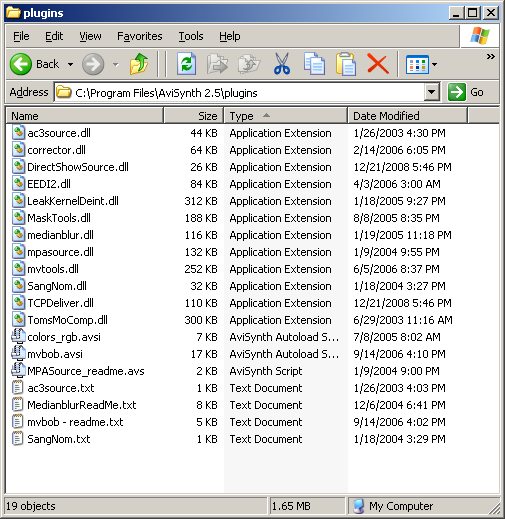
- Copy the files from inside the AviSynth plugins zip file to the Avisynth plugins directory window you just opened.
The plugins directory should look similar to what's shown in the picture. AviSynth will automatically load dll and avsi files.
Special instructions for those working with DVD sources
If you followed the instructions on the DVD page properly you should already have DGMPGDec installed. You need to copy a dll file from this directory to the AviSynth plugins directory in order for AviSynth to be able to load DVD video.
- navigate to the DGMPGDec directory. Should be C:\Program Files\DGMPGDec
- copy DGDecode.dll to the AviSynth plugins directory.
Download and install VirtualDub
This program will be useful for testing your script as you go along.
Verify that everything is installed properly
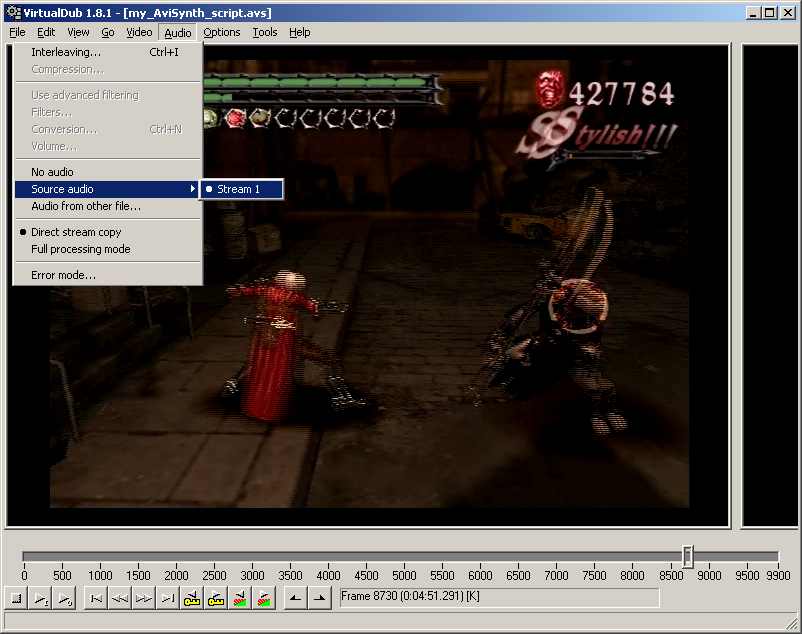
Download the following package and unzip the contents anywhere you'd like. Run VirtualDub and drag and drop the avs file into the window. You should see a frame that says "So far so good..".
A typical script for DVD video:
Ac3Source(MPEG2source("VTS_01_1.d2v", upconv=1),"VTS_01_1 T80 2_0ch 192Kbps DELAY 0ms.ac3")
mvbob()
trim(13801,13900)
Lanczos4Resize(640,480)
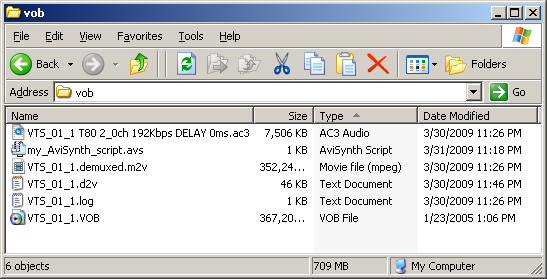
Work folder:
The first line loads the Ac3 audio and MPEG2 video:
Ac3Source(MPEG2source("VTS_01_1.d2v", upconv=1),"VTS_01_1 T80 2_0ch 192Kbps DELAY 0ms.ac3")
Next step is deinterlacing:
mvbob()
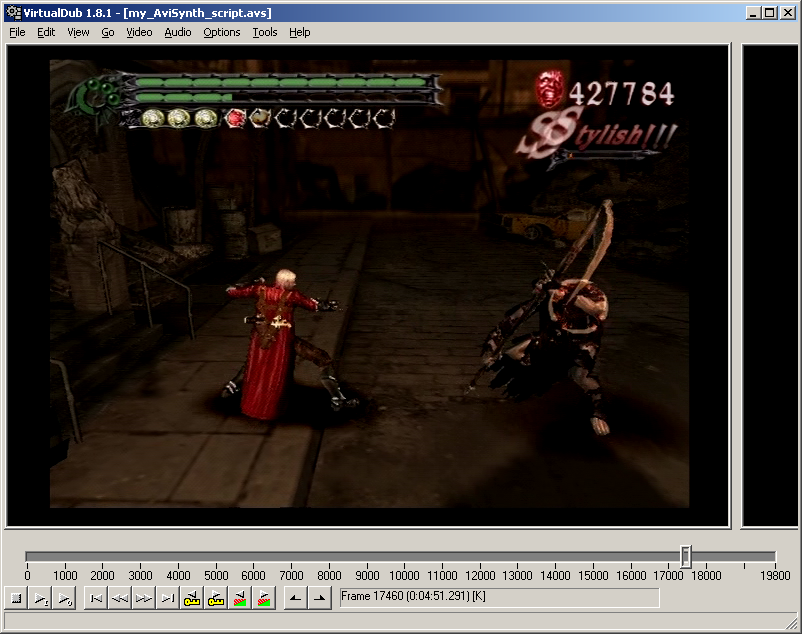
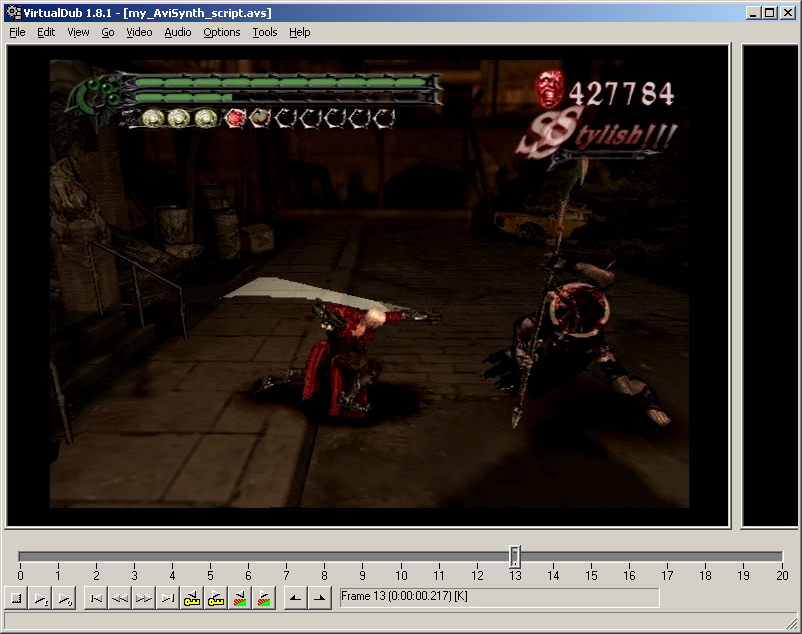
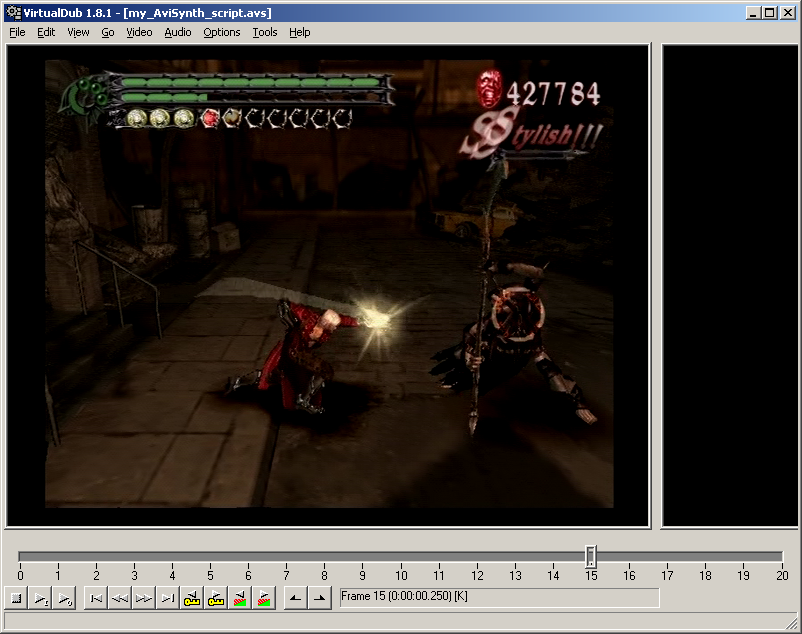
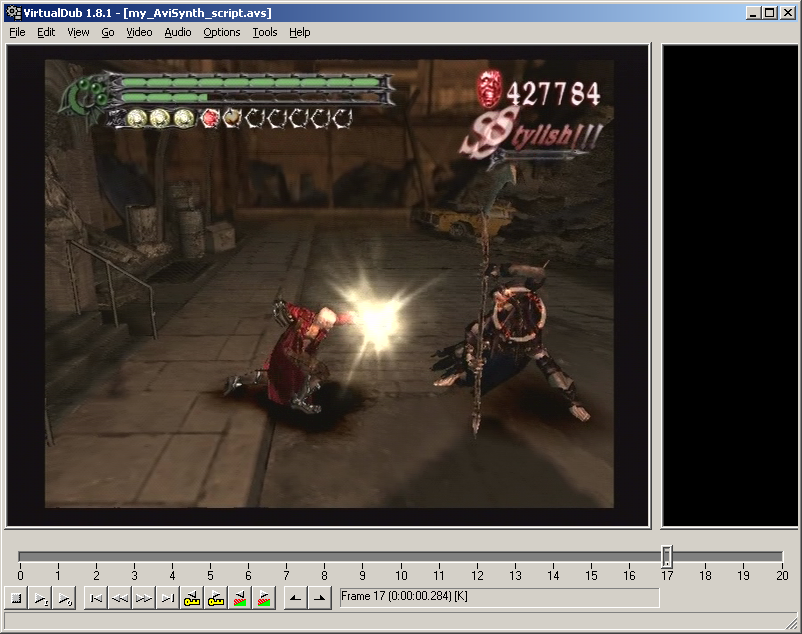
Next step is trimming, notice in this example I only chose 20 frames:
trim(17451,17470)
Next step is to resize from DVD's 720x480 resolution to 640x480 resolution:
Lanczos4Resize(640,480)
Here is an extra step I took since I wasn't happy with the darkness of the video:
Tweak(bright=30,cont=1.0)
