Difference between revisions of "Ori/Fronkey Walk"
From SDA Knowledge Base
m (→Step 8: Death Run) |
(→Step 1: Experience Setup) |
||
| Line 5: | Line 5: | ||
A normal experience route will find you at level 2, with 0-5 experience collected by Wall Jump. Level 2 requires 50 exp, and the fronkey drops 4 exp. Thus, we need to have 46-49 exp by the time we reach the door. Typically, the experience you collect includes: | A normal experience route will find you at level 2, with 0-5 experience collected by Wall Jump. Level 2 requires 50 exp, and the fronkey drops 4 exp. Thus, we need to have 46-49 exp by the time we reach the door. Typically, the experience you collect includes: | ||
| − | * 0-6 exp from brambles on the way up from Wall Jump (target exp: 3- | + | * 0-6 exp from brambles on the way up from Wall Jump (target exp: 3-10) |
* 18 exp from the ceiling flower, 2 slimes, brambles, and lantern (target exp: 21-28) | * 18 exp from the ceiling flower, 2 slimes, brambles, and lantern (target exp: 21-28) | ||
* 6-10 exp from the 2 slimes and 2 brambles during the walk (target exp: 31-34) | * 6-10 exp from the 2 slimes and 2 brambles during the walk (target exp: 31-34) | ||
| Line 12: | Line 12: | ||
Depending on how much exp you have after Wall Jump, you can modify the amount you take from brambles along the way. If something went amiss on the way to Wall Jump and your exp is too high, you can skip any of the ceiling flower, bramble exp, or the 2nd slime fairly easily. It is worth noting that in all cells and 100%, clearing the 2 brambles during the walk clears the way for a bash glide later on. In any%, leaving 1 bramble up allows for a quicker bash later, and in all skills, you do not revisit this area. | Depending on how much exp you have after Wall Jump, you can modify the amount you take from brambles along the way. If something went amiss on the way to Wall Jump and your exp is too high, you can skip any of the ceiling flower, bramble exp, or the 2nd slime fairly easily. It is worth noting that in all cells and 100%, clearing the 2 brambles during the walk clears the way for a bash glide later on. In any%, leaving 1 bramble up allows for a quicker bash later, and in all skills, you do not revisit this area. | ||
| − | |||
== Step 2: Avoid the Overhang == | == Step 2: Avoid the Overhang == | ||
Revision as of 07:46, 1 March 2016
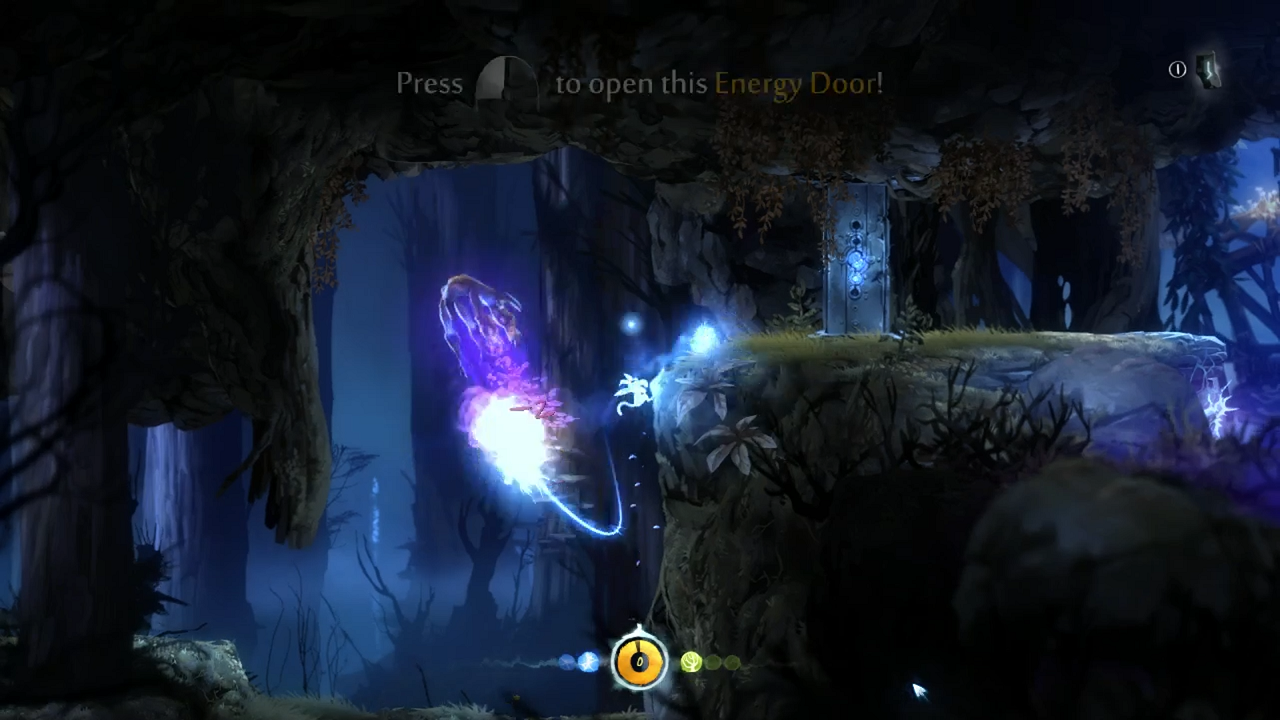
This page describes how to enter the Moon Grotto early by timing a level up to open the 4-energy door on the right side of the Sunken Glades.
Contents
Step 1: Experience Setup
A normal experience route will find you at level 2, with 0-5 experience collected by Wall Jump. Level 2 requires 50 exp, and the fronkey drops 4 exp. Thus, we need to have 46-49 exp by the time we reach the door. Typically, the experience you collect includes:
- 0-6 exp from brambles on the way up from Wall Jump (target exp: 3-10)
- 18 exp from the ceiling flower, 2 slimes, brambles, and lantern (target exp: 21-28)
- 6-10 exp from the 2 slimes and 2 brambles during the walk (target exp: 31-34)
- 15 exp from the small spirit light container (target exp: 46-49)
- 4 exp from the fronkey
Depending on how much exp you have after Wall Jump, you can modify the amount you take from brambles along the way. If something went amiss on the way to Wall Jump and your exp is too high, you can skip any of the ceiling flower, bramble exp, or the 2nd slime fairly easily. It is worth noting that in all cells and 100%, clearing the 2 brambles during the walk clears the way for a bash glide later on. In any%, leaving 1 bramble up allows for a quicker bash later, and in all skills, you do not revisit this area.
Step 2: Avoid the Overhang
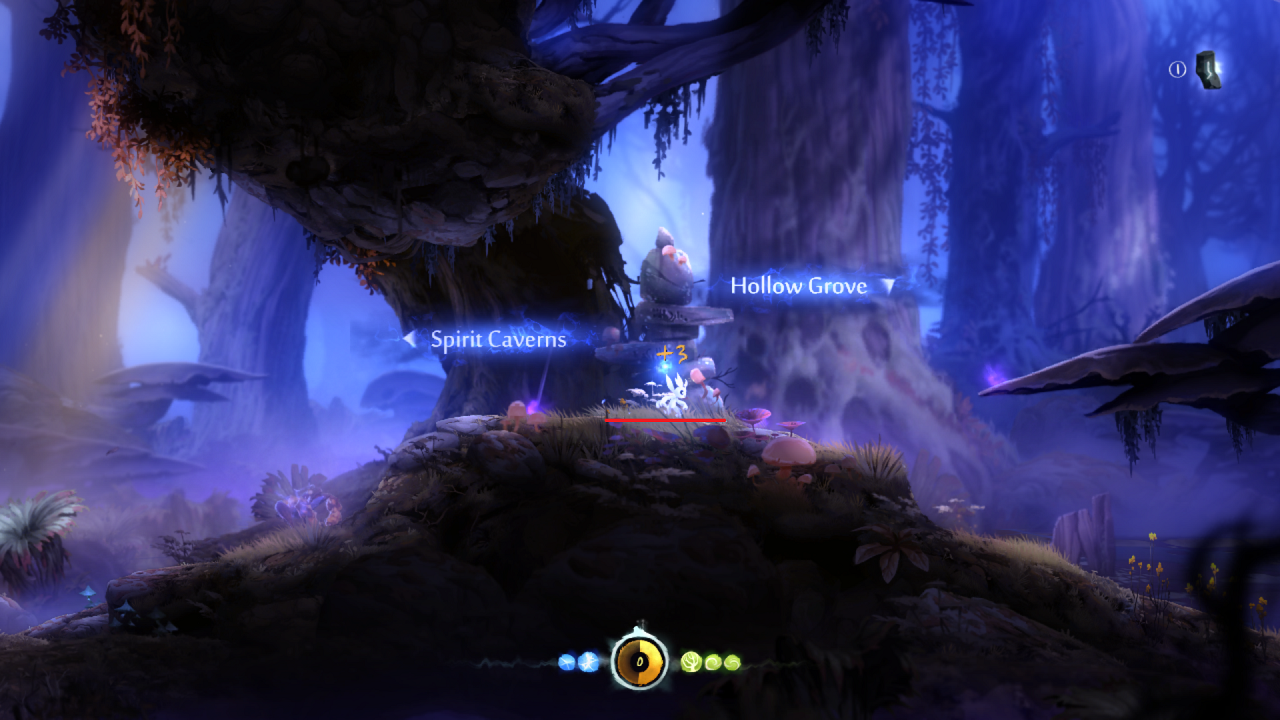
To prevent the fronkey from jumping on the overhanging mushroom, stand in front of the sign (on the red line in the above image) until the fronkey starts a jump from the platform you are on, then hold right until it does a short hop below the mushroom. Once the short hop begins, you can double back to get its attention again. If you are too close to the fronkey, it will do a high jump and land on the mushroom.
Here is a video of this in action. Note that damaging the fronkey before it jumps onto the platform is not strictly necessary, but it is possible to lose the fronkey's attention here by breaking line of sight; shooting it once ensures that this will not happen.
Step 3: Avoid the Spikes
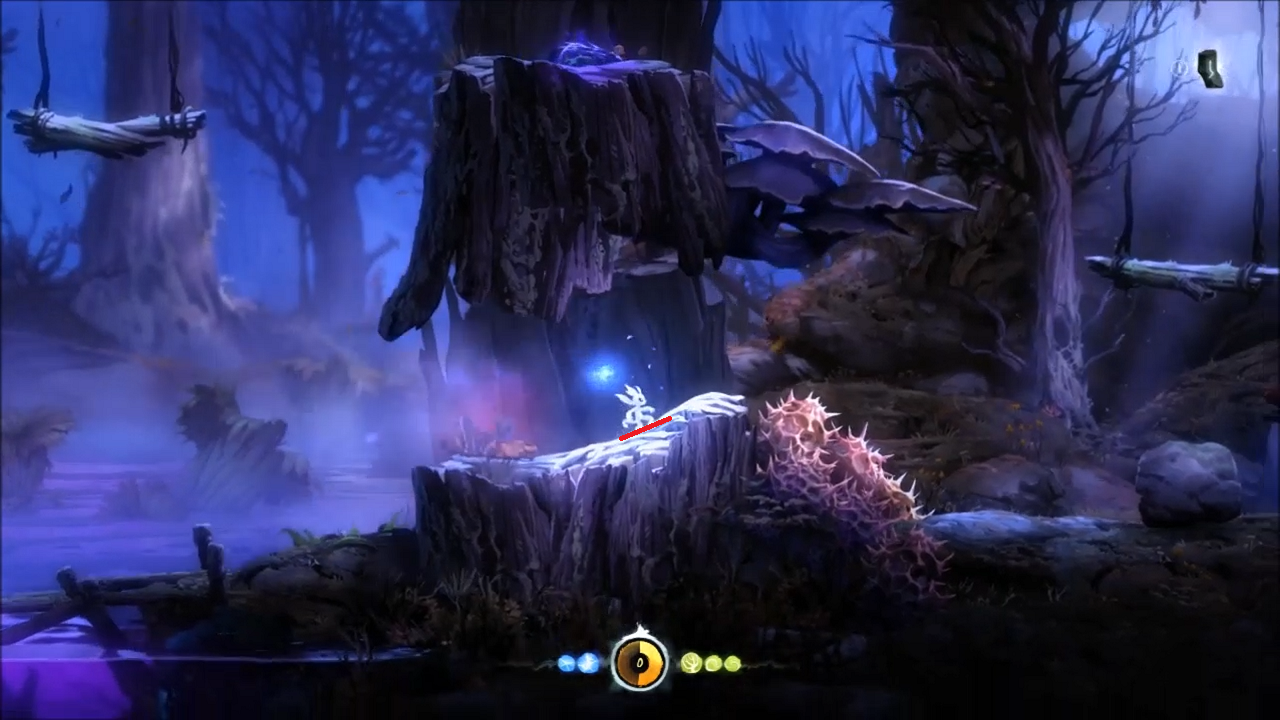
The spikes to the right of the tree stump in the above image will kill the fronkey on contact. Fortunately, the fronkey is immune to all other spikes on the route, but we need a setup for these. Before you enter the tree, hop on the health flower, as it can interfere with the fronkey's jumps. Wait just to the left of the crack in the bark (in the area indicated by the red line in the above image) until the fronkey jumps at you from inside the tree, then hold right and jump over the spikes. If done correctly, it looks like this. Being too far to the left/right, or moving too soon/too late will cause the fronkey to jump into the spikes.
Step 4: Avoid the Tree Frog
After dropping down for the small spirit light container, there is a risk of putting the fronkey in the trees above. If the fronkey is on the left mushroom and Ori is below the right swing, the fronkey may jump onto the swing and then up into the tree. To avoid this, make sure you let the fronkey jump onto the low ground first. This is another good place to damage the fronkey so that it follows you even if it can't see you. If you do land the fronkey in the tree, it is possible to get it down by jumping off of the left swing and falling down between the swings, though this is rather time-consuming.
Getting the fronkey to jump into the next tree cleanly can also be somewhat tricky. If the fronkey lands too close to the edge of the tree, it will slip off and land below. If this happens, you can make it follow you up by jumping straight up on the edge, then moving towards the middle of the tree. Not moving fast enough will cause the fronkey to slip off again, while moving too fast or too far will cause the fronkey to do a short hop and not make it up.
Here is a video of this segment.
Step 5: Avoid the Pit
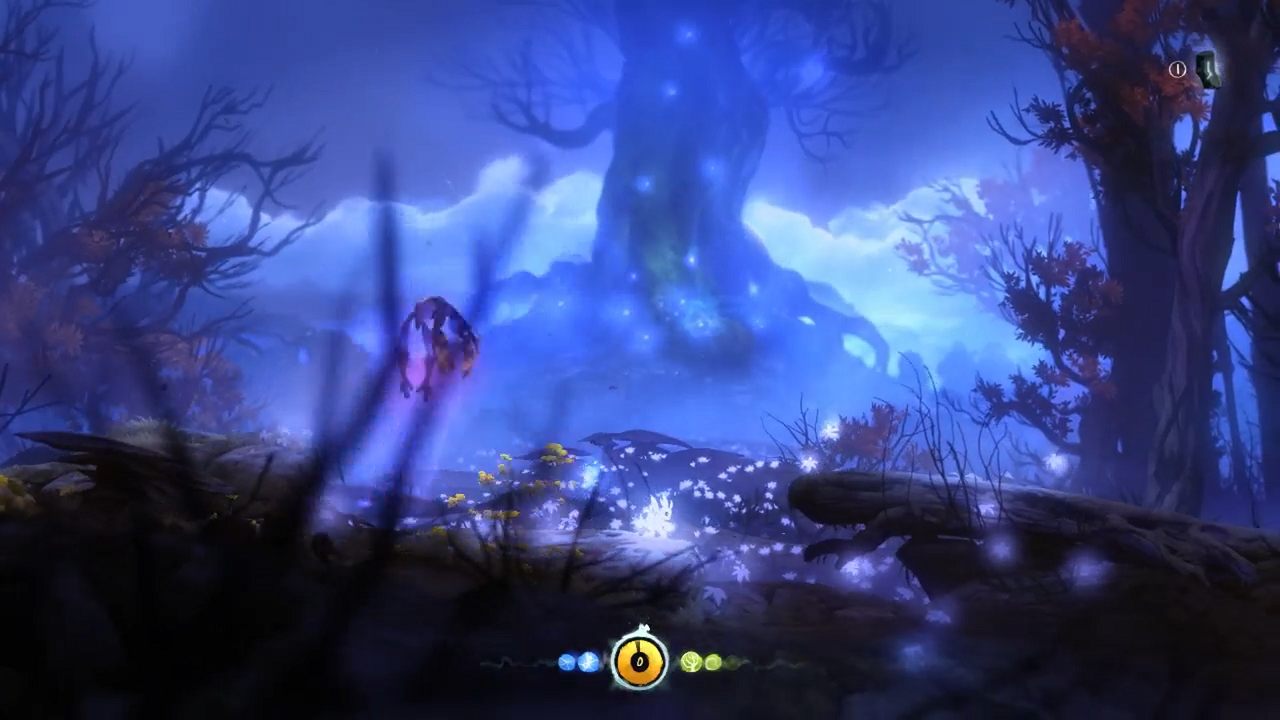
If the fronkey falls into the pit to the right of Ori in the above image, it can get stuck below the log and be unable to jump to the right. You can get it out by heading back to the left, but it is best to avoid this entirely by waiting for the fronkey to jump at you while standing just left of the pit, then head to the right.
Step 6: Damage Boost
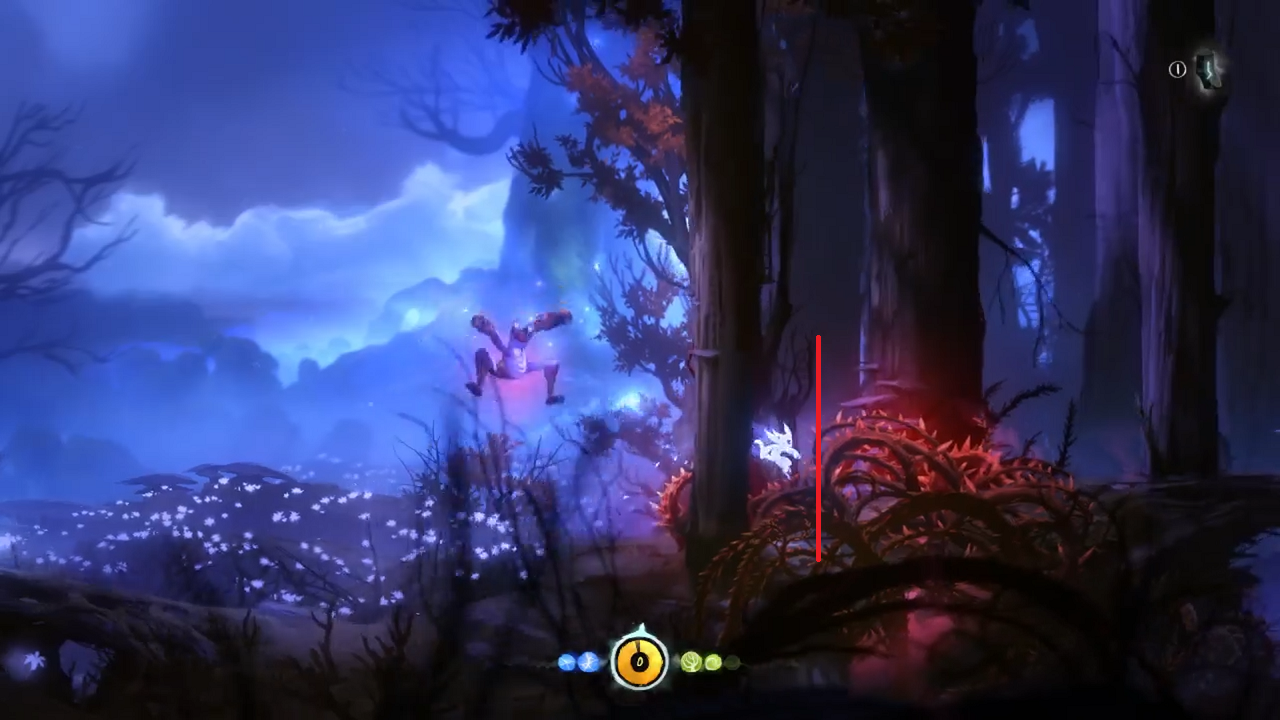
To the left of the red line in the above image, the spikes will do 1 damage. To the right, they will do 2. If you haven't taken damage during the walk, you don't need to worry about where you land, and can simply jump into the spikes, then jump again to get over, but it is worth noting that you do only need to take 1 damage here. It is a good idea to damage the fronkey after it lands in the spikes to make sure it follows you over. After clearing these spikes, damage the fronkey until it has 1 hit remaining (it can take 5 shots total).
Step 7: Open the Door
As you climb the wall to the energy door, kill the fronkey at the top of one of its jumps, then quickly put 2 energy into the door while the experience magnets to you. After you level up, put 2 more energy in and the door will open. You can land up top before killing the fronkey, though you may need to jump straight up on the edge to get its attention. If you kill the fronkey too far away from the ledge, there is unfortunately no known backup.
Step 8: Death Run
When learning this section, it is highly recommended that you place a save after opening the door for practice, either by using debug mode or by going back after the frog walk to get energy. If the fronkey gives you an energy drop (~10% chance), you can save here, but otherwise, your last save will still be back at wall jump, and it is very easy to die here.
Here is a video of this section. Some notes:
- Taking the health cell before Wall Jump will make this section (among others) more forgiving, and is recommended while learning the route.
- Jump as far as you can over the poison water, then start attacking the slime as soon as possible. If you attack soon enough, you will take only 2 damage from the water.
- Be close to the wall before you jump out of the water. Jumping from too far away will attract the attention of the fronkey up top, and you will meet a terrible fate.
- Once on top of the wall, run to the right and jump as soon as you touch the edge to get under the fronkey. Jumping too slowly here or up the wall can cause it to hit you.
- The crushers will never hit you if you hold right while passing under them.
- A short hop just after you run off the edge before the last slime will dodge the shots. You can also opt to hop over the edge (landing left of the slime), then jump again to do a more traditional slime dodge.
