Earthbound/Tricks and Glitches
From SDA Knowledge Base
Major Glitches
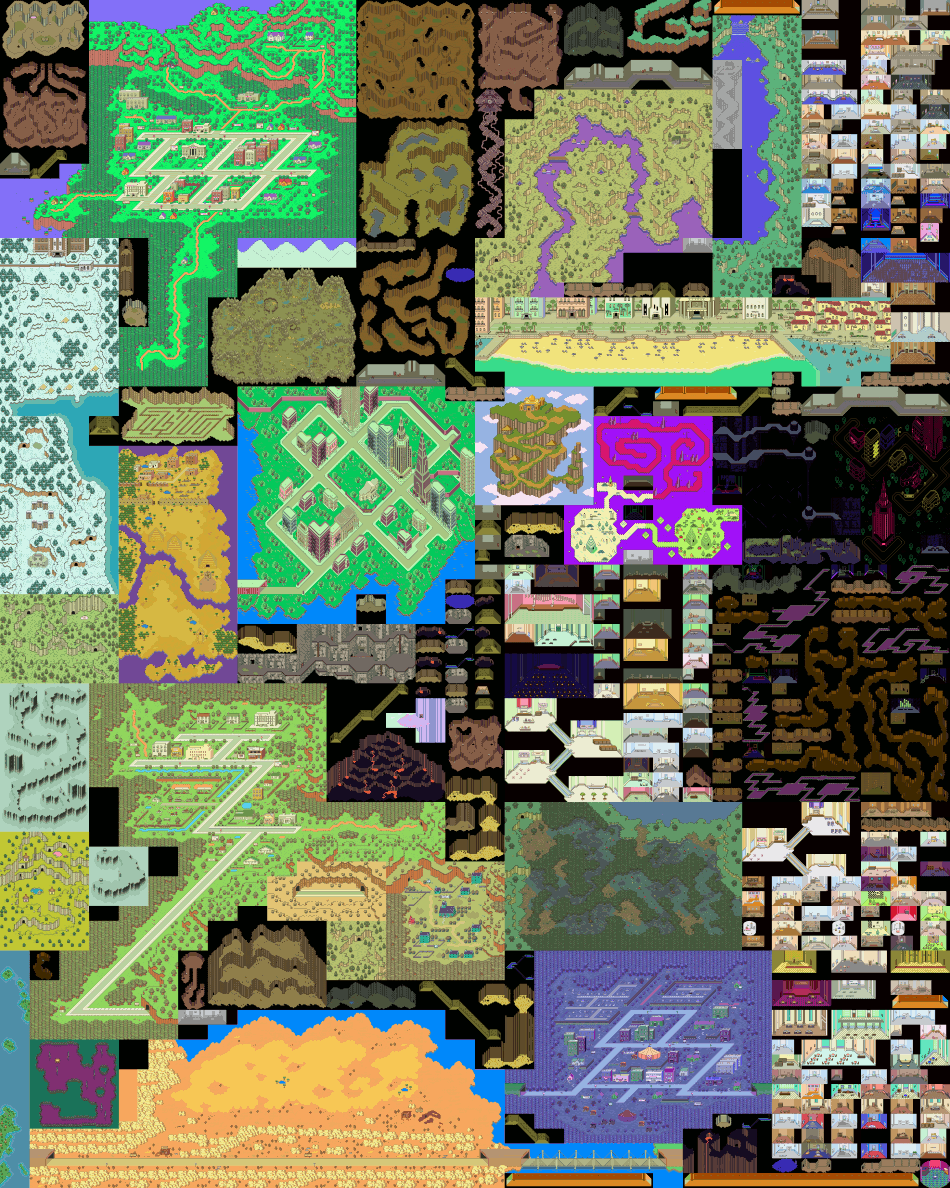
For both major glitches, it can be helpful to know that every area in the game is laid out on a single large map.
Check Area Glitch
References
- Video demonstration
- Pirohiko and Mugg's 09:01.77 TAS using the Onett spot
- Pirohiko and Mugg's 30:42.12 TAS using the Threed spot
There are several spots in the game that, when checked, can cause the game to read an arbitrary address in memory. These spots are all located along the outer edge of the game map, and many are normally inaccessible. The 2 most commonly used spots are the northeast corner of Onett and the southeast corner of the circus tent in Threed. The former spot can be reached by using the walk-through-cliffs glitch, while the latter spot can be reached normally.
The desired outcome is for the glitch to open the debug menu. With the debug menu, it's possible to use its event selection option to warp straight to the end of the game, when Picky is knocking on Ness's door.
However, this glitch is rather unpredictable and difficult to control. What usually happens with this glitch is that garbage text will start scrolling in the dialogue window. The garbage text can be as short as a couple of lines or last as long as several minutes. Often the garbage text leads to nothing; sometimes the game can end up freezing, or in more unusual cases, the graphics can become corrupted, the music can change, the party can be warped somewhere, or save files can be deleted (rare).
Onett
Two specific steps need to be taken to access the debug menu in Onett. First, the glitch should lead to an empty dialog box. This empty box is usually preceded by garbage text that contains the string "HOHO." Whether the empty box appears or not is apparently random. However, it seems a button on the second player controller needs to be held while the glitch spot is checked in order to have any chance of success. Holding Y or R have been confirmed to work.
Once the empty box appears, there is a guaranteed method for opening the debug menu. Press or release any button on the second player controller. Exactly 11 or 13 frames later, dismiss the empty box while pressing Down-Right-A-B-Y on the first player controller.
Stairs Glitch
References
The stairs glitch causes your party to enter a "ghosted" state in which your party is able to walk through almost any solid object, including walls, NPCs, trees, cliffs, etc. This allows the party to walk directly between adjacent locations on the map.
The stairs glitch can be activated in 2 ways:
First Method
This game treats movement on stairs differently from normal movement. When walking onto a set of stairs, the transition from the normal to the stairs movement state isn't instantaneous. Instead, the game disables all player input, and Ness automatically keeps walking forward until the transition is complete. The duration of disabled input is about 19 to 21 frames at the top of stairs and about 15 frames at the bottom.
If an interruption occurs during the transition, Ness will stop walking and the game will give control back to the player when the interruption finishes. The interruption can either be a phone call (e.g. from Ness's dad, Mach Pizza) or a critical health warning, which appears if a party member has a health-draining status effect (cold, poison, nausea, or sunstroke) and HP drops below a certain percentage of the maximum. (The threshold might be about 19.5% of max HP, but this hasn't been confirmed.)
If the interruption occurs after the transition begins but several frames before it completes, the game will give control back to the player with the party left in a ghosted state. The timing window differs between the top and bottom of the stairs and also depends on where along the width of the stairs you are. Walking onto the top of the stairs from the upper side of the stairs's width, the timing window is about 15 frames. Walking onto the bottom of the stairs from the upper side of the stairs's width, the timing window is about 8 frames. Starting from the lower side of the stairs's width reduces the timing window by a few frames. If the interruption is a few frames too late, the party will be confined to move along a diagonal but not actually be on the stairs--in this movement state, the party can still walk through walls, but there is no way to get off the diagonal without deactivating the glitch.
The glitch cannot be triggered by walking off the stairs. The glitch cannot be triggered with escalators either.
There is another limitation with this method. Imagine drawing an infinitely long horizontal line at the location the glitch is triggered. If you try to cross this line, the game will warp the party onto the stairs no matter where the line is crossed, and the party can end up stuck on the stairs. If the glitch is triggered at the top of the stairs, the line is actually a bit below the party; conversely, if the glitch is triggered at the bottom of the stairs, the line is slightly above the party. Hence, if you want to travel up or down, the glitch needs to be triggered at the top or the bottom of a set of stairs respectively.
Second Method
- Walk onto a set of stairs.
- Get the entire party wiped out while on the stairs. This can be done by having all party members unconscious except for one person. That person should have a health-draining status effect such as poison.
- Return to the title screen from the game over scene. This can be done by answering "no" and then "yes" at the prompts. Resetting the game will not work.
- Open a different save file.
- The party will start in a ghosted state upon loading the save.
Unlike the first method, there is no horizontal line that you cannot cross.
Exploring as a Ghost
Although you can walk between areas while in a ghosted state, most of the other areas aren't visible and you can't interact with anything in them. When the party enters a location normally, the game loads the tileset only for that location and leaves most other areas unloaded. (Some rooms share the same tileset, and entering one of these rooms will load every room with the same set. You normally can't see more than one of these rooms at a time because they are never next to each other.)
When you enter an unloaded location, there are 2 ways to load it: use the Map or the Sound Stone. The Map is faster but can be used only in towns, while the Sound Stone can be used anywhere but disappears after defeating Ness's Nightmare.
With an area loaded, you can return to normal by either entering a door, falling through a hole, or walking onto stairs or an escalator. There is a catch, however: if you activated the glitch using the first method, entering a door or hole that leads to a location on the other side of the invisible horizontal line will cause the game to try to warp you onto the stairs and likely cause the party to get stuck.
Finishing the Game
Once the party is ghosted, it's possible to go straight to Giygas, but the game will hang up during the first prayer scene. This is because each area that appears in the prayers needs to be "prepared" to run the scenes. This preparation occurs when the party travels back in time with the Phase Distorter. You can tell this is the case by ghosting your party after going back in time and walking to an area that appears in a prayer--instead of the normal music, you'll hear the song that plays during the Giygas fight.
Two events are required to initiate the Phase Distorter quest in Saturn Valley:
- In Lumine Hall, fall through the hole leading to the Lost Underworld: this causes Dr. Andonuts to appear in Saturn Valley.
- Defeat Ness's Nightmare: this causes the Phase Distorter to appear.
Other Glitches
Walk through Cliffs
The cliff crossing glitch is probably best understood by looking at a picture. Like many games, EarthBound's maps are divided into tiles. The game's programming designates each tile as either passable or impassable, with all cliffs being impassible. Because of the jagged shape of cliffs, they sometimes form 1-tile wide "nooks" where 3 of the 4 adjacent tiles are impassible. If this nook is diagonally adjacent to a passable tile on the other side of the cliff, it's possible for Ness to squeeze into this nook, and then cross over into the diagonal tile.
Doing this glitch with a Skip Sandwich can make things easier. Also, a cliff cannot be crossed by walking diagonally; it requires a combination of horizontal and vertical movements. Let's say you enter a nook from the top and there is a passable tile down-left. To enter it, you'll need to walk briefly to the left and then turn down and repeat until successful. Failure can occur if you walk too far to the left before turning down because this can cause Ness to get pushed out of the nook or off the cliff. The nook itself can be entered with diagonal movement, but it requires precise positioning. Again, using a Skip Sandwich can help.
Uses
The biggest use of cliff crossing is skipping Twoson. The set of cliffs south of the bus station can be crossed to access a road segment that connects Threed and Dusty Dunes Desert (see the game map for reference). From here, entering the haunted tunnel leading to Threed will cause the ghosts to carry Ness into Threed because this tunnel is normally intended to block progress into Dusty Dunes Desert until Master Belch is defeated. While skipping Twoson also skips rescuing Paula in Happy Happy Village, the game adds Paula to your party when Jeff reaches Threed.
This glitch can be used in a few other places to skip sections of an area. Examples are a few spots in Peaceful Rest Valley and the second Sanctuary cave.
Condiments Glitch
The condiments glitch (or the Rock Candy trick) lets you use a food item an indefinite number of times. It's done by having condiments and the food item in the same character's inventory, but the food must be placed after the condiments in the inventory's sorting order; simply placing the food at the bottom of the inventory is sufficient.
Now, if the food item is used during a fight, only the condiment will be consumed. The food item will remain after each use as long as a condiment is available. This glitch does not work if the food is consumed outside of a fight.
Time-Saving Techniques
Stutter-Walking
Stutter-walking refers to moving short distances at a time. It's used to avoid certain enemies and skip event triggers, such as the Starman Jr. fight and Buzz Buzz's final words.
There are several different enemy movement patterns on the field. In one pattern, an enemy only moves towards the party when the party is moving; when the party is standing still, the enemy also stands still. The Coil Snake and Rowdy Mouse are examples of enemies that move this way. Stutter-walking can be used to avoid such enemies because they start moving a few frames (usually about 3 to 6 frames) after the party starts moving. Waiting for a longer period of time between each step seems to improve results.
Skipping event triggers is much more difficult because it requires alternating between walking and stopping on every frame. If the party walks for 2 frames or stops for 2 frames, the skip will fail. There are two possible techniques for skipping event triggers: button-mashing or menu buffering. With menu buffering, standing still for any period of time does not seem to be a problem.
Luck Manipulation
Two factors make luck manipulation feasible:
- Resetting the game resets the RNG to the same initial state.
- New numbers are generated whenever specific in-game events occur, many of which can be manipulated by the player. Examples include:
- Scrolling text/dialogue: each character of scrolling text generates 1 random number.
- Cursor movement: each movement of the cursor in menus generates 1 number.
- Opening and closing a menu window. This can sometimes generate 2 numbers because some windows and their contents are loaded separately.
- Whenever an NPC starts or stops walking. Scripted NPC movements, such as Pokey at the beginning of the game, do not affect the RNG.
- Walking over certain parts of the map. These are usually caused by enemy spawn triggers.
- Transitioning between rooms/areas.
- Displaying the HP/PP window outside of battle. This causes a new random number to be generated on each frame, so its use is limited to tool-assisted runs.
In a console run, luck manipulation is useful only after a reset because it's impossible to determine the RNG's state in the middle of unmanipulated gameplay. Methods for adjusting the RNG include opening and closing the main menu, pressing L, talking to no one, and making a specific number of cursor movements in menus. The path you take when walking can also be important in areas where enemies appear. In areas where enemies do not appear, your walking path has only a small effect.
When manipulating battles, your speed is probably the most sensitive stat because a slight difference can affect the order of turns. Offense and Defense matter only if they affect whether you inflict or receive single-, double-, or triple-digit damage.
Also, having a Teddy Bear can cause 1 extra number to get generated when loading the game or entering a new area. This hasn't been tested, but each additional party member or NPC ally might cause another number to get generated as well.
Misc. Tips
- Enemies need to be at least a certain distance off-screen before being despawned. This distances is about 25% of the screen's width or about 30% of the screen's height.
- Whenever possible, use Teleport to skip event triggers, such as photo spots.
- If you plan to just "bash" in a fight, use auto-fight to skip menu selection. According to Starmen.net's equations page, every party member will use standard attacks unless:
- Someone is less than 25% of max HP, in which case Ness or Poo will use Lifeup.
- Someone has a status effect or is unconscious and can be cured with Healing.